The Farrow Rib Stitch on a Knitting Loom
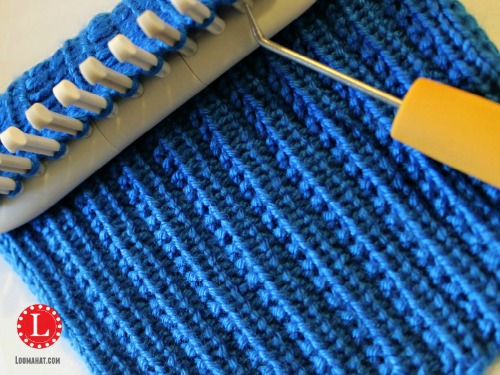
This very simple stitch looks so intricate yet it is made of 2 rows of a 3 stitch combination of knits and purls. I so love this new conversion. The Farrow Rib Stitch will work with any design you have in mind from a hat, a shawl or a even a pair of socks.
As always I give you a Free pattern and video tutorial of the Flat version. The written pattern of the round version is also below but there is no video.
En español: Haz clic AQUÍ
The Farrow Rib Stitch looks a lot like other versions of the rib stitch, the mock, uneven, mistaken, broken and the Undefined. Those are mostly 4 or more stitches. I find this to be the easiest and that’s why I wanted to do this one.
So here is that VERY easy Pattern
The Pattern
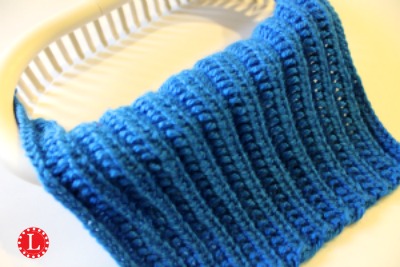
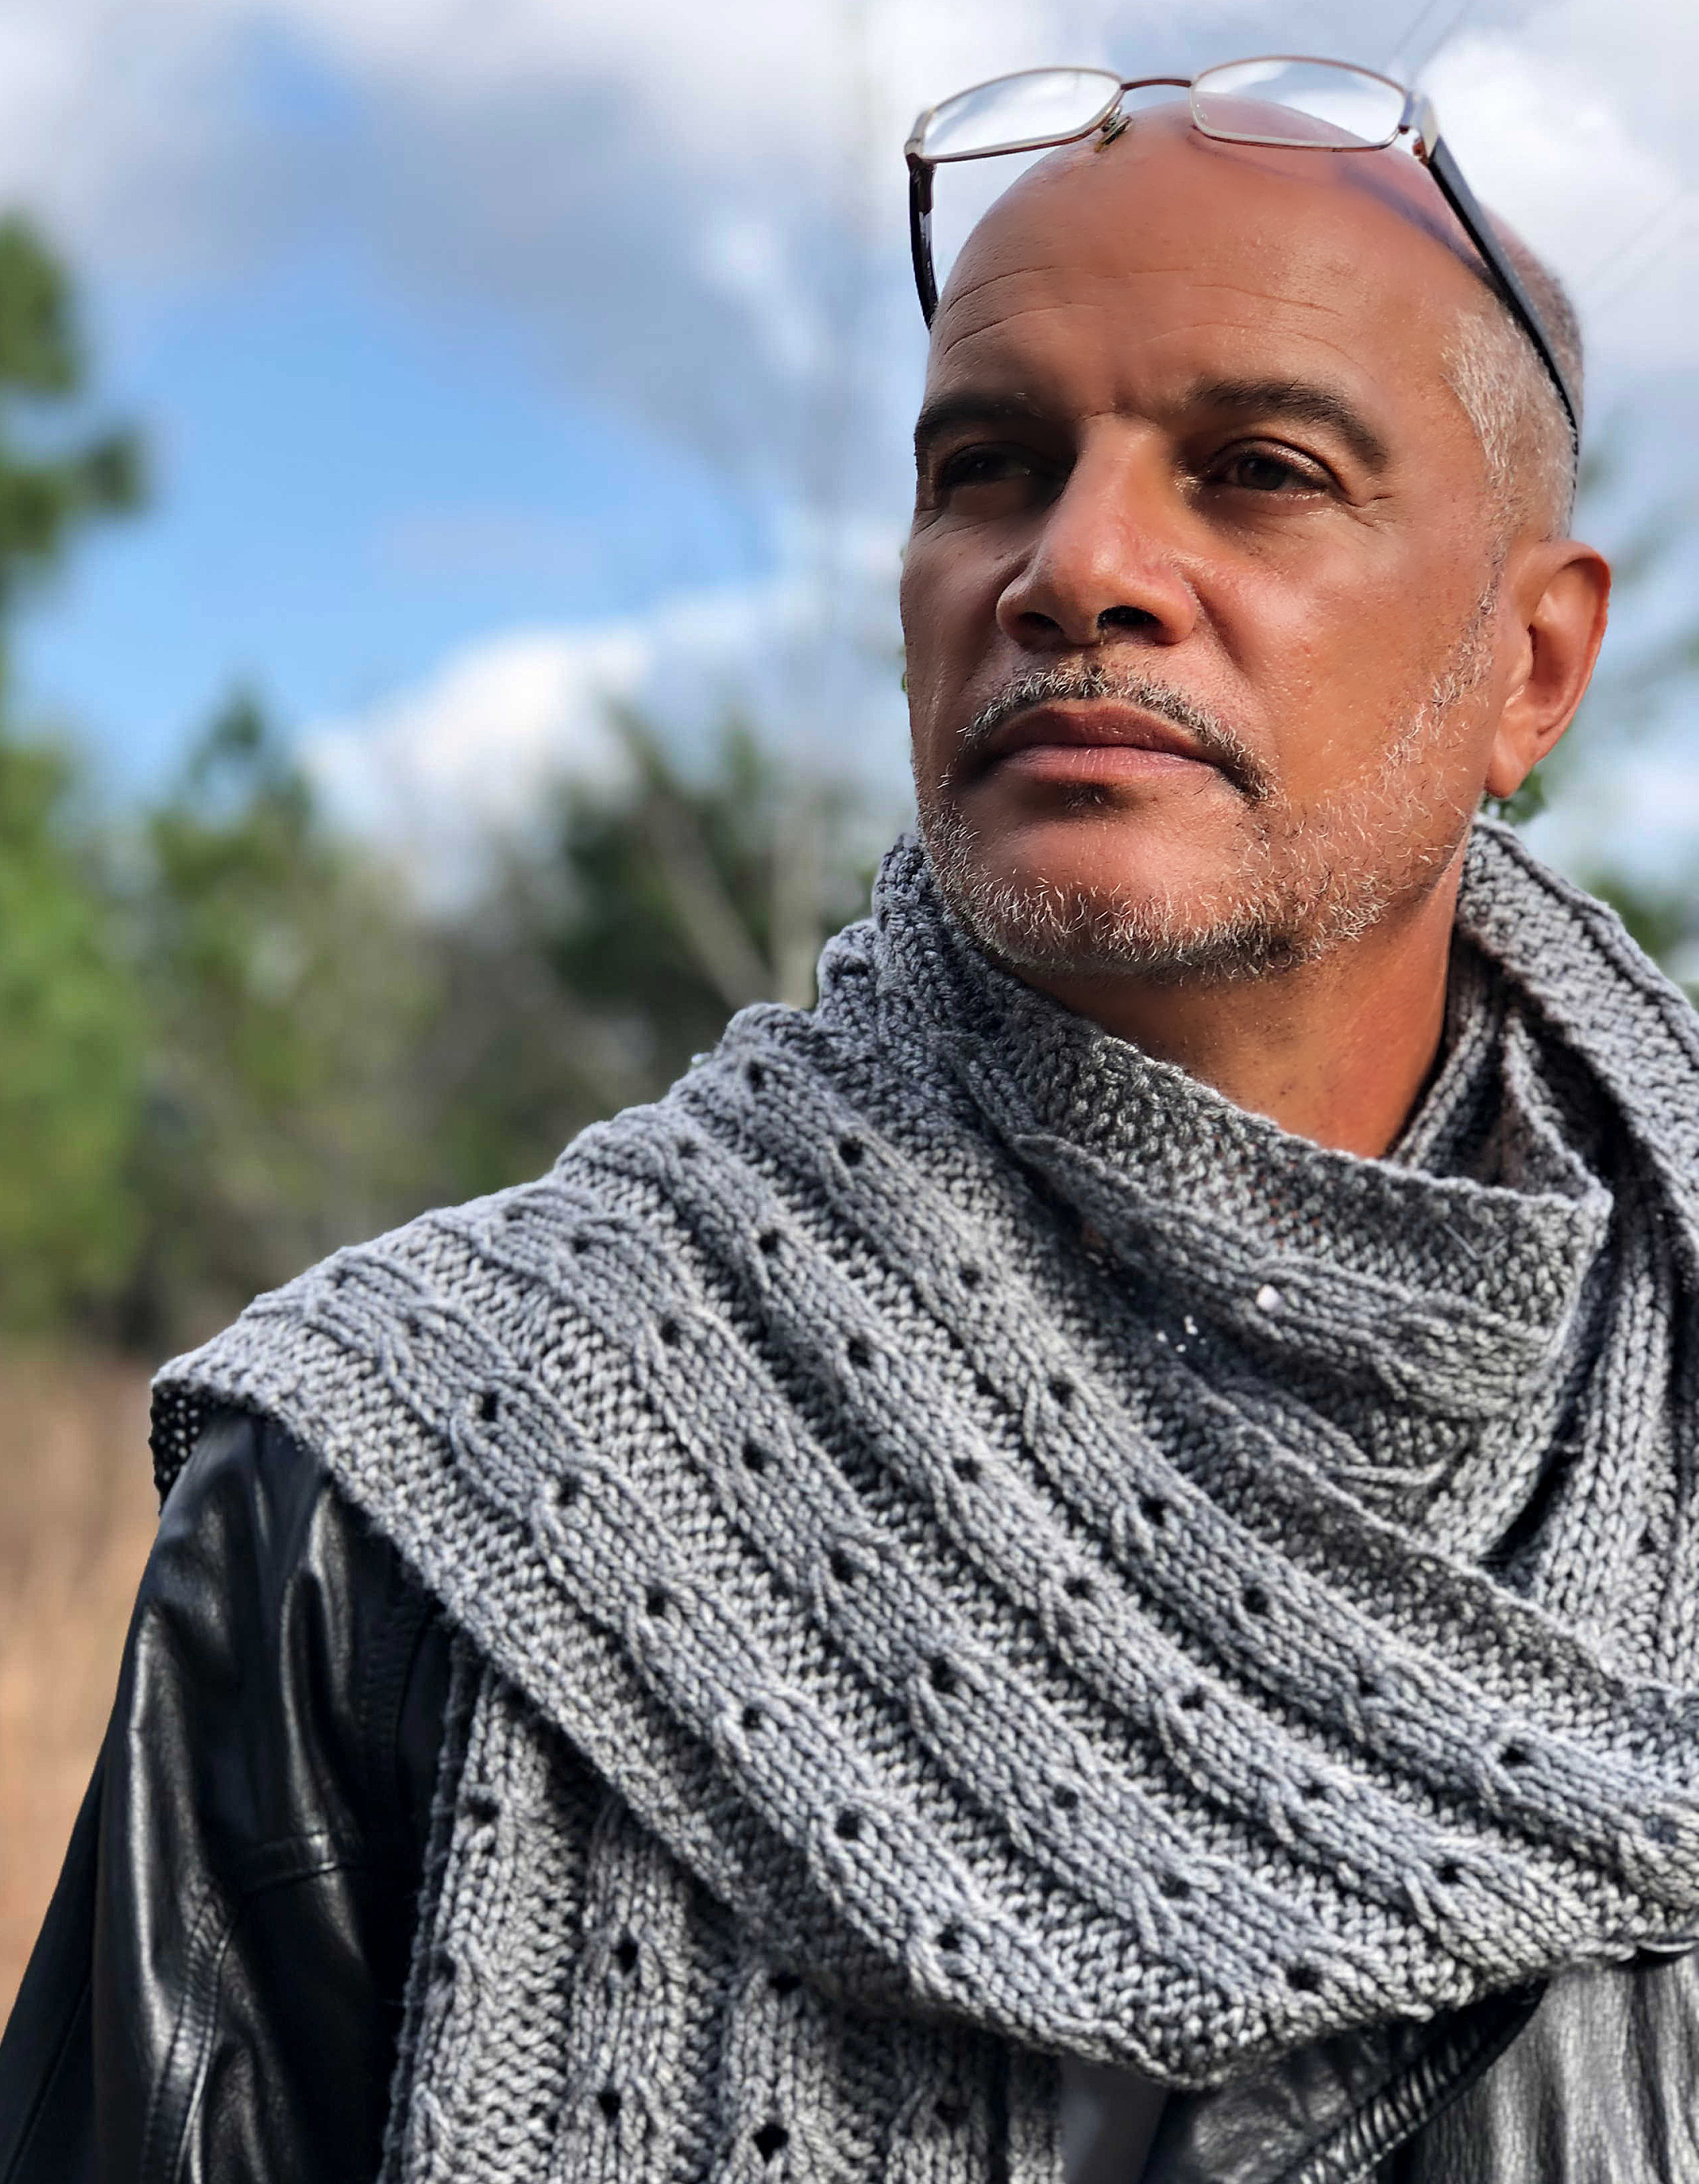
Above is the reverse side of the pattern. I believe it looks as great in any direction which makes it perfect for a scarf or any other 2 sided project.
This pattern is FREE on this website. To Purchase a Printable PDF Click HERE
You support is greatly appreciated. To get monthly patterns – sometimes more than once per month consider supporting this website by becoming a Patreon Patron : Click for More Info
Supplies:
Loom: Any Loom. Stitch will look best with a small gauge loom. I used the KB Adjutable Hat Loom
Yarn: Worsted Weight. I used Caron Simply Soft in Royal Blue . Not a good idea to use 2 strands as 1. If your loom is large gauge like a Knifty Knitter – use Chunky yarn.
Hook: Any Loom Hook. I used the KB Hook
Flat Version
3 stitches + 1
Row 1: P, P, K
Row 2: K, K, P
Repeat the pattern as needed
In the Round
Row 1: P, P, K
Row 2: P, K, K
Repeat the pattern as needed
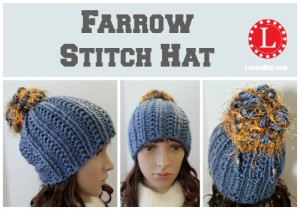
Try a New Hat – Click the Picture for a link
The Video
Although this is a very simple pattern I do suggest watching the video completely from beginning to the end before starting on any project.
This will allow you to feel more secure that the project is doable as well as give you a complete picture of all the steps.
Remember that the written pattern is in both round and flat but your video tutorial is only going to show you the pattern in flat.
.








I love this scarf how do attach button without having to lift scarf over head
I used a swim suit bra hook: Click HERE – and note that where you are placing this question is not the scarf pattern – here is the scarf pattern: Click HERE
[…] the way if you need a written version of the pattern you can go to Written Farrow Rib Stitch Pattern to get a written […]
Hi Denise what brim would you recommend for an adult hat using this stitch? Thanks for the video and genourously sharing your patterns and videos.
Hi Joy sorry for the delay – I actually don’t like a brim for this stitch. Here is my hat pattern: Click HERE . If I HAD to choose one it would be a Knit2, Purl2
Thanks Denise!
How do I purl on the loom?
Click HERE
What method do you use to cast on for this specific pattern? I am new to knitting so I am just wondering how you start this.
The cast on really depends on the project – But for more info Click HERE
Hi, this stitch is not working for me, I am confused about the +1. I looked up the farrow rib stitch on loomknittingcentral and it says you should do
row 1 *k2, p1*, k1
row 2 k1, *p2, k1*
so in row 1 you have the extra stitch at the end and in row 2 you have it as the first peg. When I do your version, I am not getting a rib stitch pattern…
Fey – the easiest method is to just mark your loom. The stitch is in multiples of 3. Stitch 1 and 3 are always the same. Stitch one (lets mark it in blue) is always a Purl – Stitch 3 (lets mark it pink ) is always a Knit. Stitch 2 is a Purl on odd rows (row 1) and a Knit on even rows (Row 2) . If you’re knitting flat add extra stitches to the edges – if you’re knitting in the round use a loom that is divisible by 3 so that you don’t need to do any math – like a 36-peg.
I had the same problem with one strand. Could not get the pattern to come out. I just gave up.
Jo – the yarn has a big effect on some patterns – this is one of them . I suggest a small gauge loom and Caron Simply Soft – so something comparable
Jo, you may be more experienced than I am, so this may not apply to you, but I finally figured it out. I wasn’t adding the extra stitch! I was just doing a swatch so only used 12 stitches, since the pattern uses 3 stitches. Had to have that extra stitch to make the pattern work. 3 stitches plus 1.
So there are 2 pulls plus I knit then 2 knits plus 1 purl. What is the extra stitch? Does it go at the end of each row?
Jo – the easiest method is to just mark your loom. The stitch is in multiples of 3. Stitch 1 and 3 are always the same. Stitch one (lets mark it in blue) is always a Purl – Stitch 3 (lets mark it pink ) is always a Knit. Stitch 2 is a Purl on odd rows (row 1) and a Knit on even rows (Row 2) . If you’re knitting flat add extra stitches to the edges – if you’re knitting in the round use a loom that is divisible by 3 so that you don’t need to do any math – like a 36-peg.
Hi Kim or Denise what is the extra stitch, purl or knit?
I did knits for my edges
Thank you Denise! It’s such a pretty stitch I am going to do a swatch today to make sure I get it right! Thanks again! Jo
Jo – I’m going to be doing a Hat and Scarf set with this stitch hoping to start soon. Time just keeps getting away from me. 🙁 …. but stick with me – it’s coming
Would love that! I know what you mean! I have a few projects I have to get done in the next 6 weeks and I am not a fast looker.
The extra stitch depends on where you are in the pattern. You just do the knit purl purl or the purl knit knit all the way across. When you turn the stitches won’t line up exactly and that’s what creates the farrow rib stitch.
Your site has been an absolutely fantastic resource in my adventures into loom knitting. I’m currently trying to figure out the farrow rib stitch on the smallest round knifty knitter with two strands worsted weight yarn. I’m pretty sure I’m doing it right, but the pattern isn’t coming out very well – I Ike the raised texture in your pic and am hoping to do a scarf from it. I’ve tried tighter, looser, etc, but nothing brings out that ridge. Could it be that the yarn is too thin, and trying a bulky or super bulky would bring it out better on the large gauge loom I’m confined too?
Crystal – Thanks for the question – I updated the page. This stitch will not look well with 2 strands as 1. If you plan to use a large gauge loom then use chunky or bulky – let me know if that helps
My knitting doesn’t look anything like this. I’m using the kb all in one loom and 100% cotton yarn from a cone. Yarn says it’s size 4. Is my yarn too thin?
My knitting has very prominent running threads and the knit part is small and tight. I’m not wrapping the loom tight, and it’s easy to hook the loops off. Help?
Hard to say why it would not work well. I will tell you that 100% cotton yarn can be tricky. I recommend reviewing the pattern again, watch the video from beginning to end and then see if you’re following the directions correctly. Any deviation in the pattern will create a completely different stitch.
I’ll try it again using an acrylic yarn. I’m following the pattern correctly. I’m using the true knit stitch and I also tried the uknit stitch but didn’t see much difference. The cotton isn’t as fluffy as acrylic so maybe that’s it. I’ve done samples of other stitches too with cotton and none look the same as yours. 🙁
I suggest a small gauge loom and a yarn comparable to Caron Simply Soft
how would you do for a hat? if it is a back a forth pattern?
Would it just stay ppk?
Hi Laura, no the stitch is made up of 2 rows – for the hat you would just need a brim of your choice then
Row 1: P, P, K
Row 2: P, K, K
Repeat Rows 1 and 2 for the desired length.
I have a pattern with a hat and a scarf for January
Hi,
Can I use bulky yarn with the farrowed rib stitch? I stared, but I’m not seeing the pattern.
Thank you,
Linda
Yes – bulky yarn is fine. The pattern is on the page.
[…] For English: Click HERE […]
I love your videos. Can you tell me what loom is the white one in this video?
The KB Adjutable Hat Loom. I always list what I used for the project under the supplies list. Just click the link
I tried to purchase the Farrow Stitch pattern with no luck.
Hi Jo, I tested the link and it’s fine. Not sure where the issue is – but here is a link to my Etsy store which may work out better for you- Click HERE
Hi Denise I purchased the pattern but I don’t see anything different then what is on lommahat.com? I had noticed you marked off 3 pegs at each end for the edging? So are you saying you put a boarder on your scarf? Also, I will be using Love That Yarn by Hobby Lobby. It looks like you added pegs, how many total pegs did you use? I guess I could use my all AIO because I am doing a scarf already on my adjustable hat loom and I think I’m going to run out of the the colors I’m using so that project might have to sit for a few weeks while I try to find another skein of the color. Jo
Jo, this pattern is only for the stitch and not any project in particular : here is a post and video you can watch for the basic scarf – just switch the e-wrap for the farrow rib : Click HERE
Here is some information about stitch patterns: Click HERE
The stitch is very pretty and I want to use it but it says I down loaded it but I don’t see it any where on my iPad? Can this be made on the AIO? How many pegs did you use? Jo
The AIO is a perfect loom. Any small gauge loom is great for stitches. As for the number of pegs I used – I don’t know – I wasn’t creating a project -didn’t make note of it – just making sure the fabric was wide enough for the picture. Sorry. 🙁 I would say about 1/2 the number of pegs on the KB Adjustable Hat Loom set on the smallest size ..
Hi Denise I have decided to do the Farrow stitch on my AIO. I am think I should probably use I strand of yarn? I am using Hobby Lobby I Love This Yarn, 100% acrylic, 4 medium, 5 oz. it’s not as thick as Red Heart # 4. What is your take on using 1 strand vs 2 on the AIO?
Thanks for your help/knowledge. Jo
Use 1
I’m so excited to start a scarf using this elegant stitch. Clarify please regarding the 3 K at beginning of row and 2 at the end – is that true for every row or just the first? Thanks so much for all your tutorials. You are my GO TO link as I tackle the new of skill of loom knitting.
Hi Lanell, first thanks for all you kind words – very much appreciate them. Those are my edges – it’s not part of the stitch pattern. I choose that edging so that the stitch will stand out – it’s just 3 knits on the left and 2 knits on the right. But you can pick any stitch pattern for your edges – I think a seed pattern would be really nice.
Another beautiful stitch! Thanks so much Denise! I’m going to try it this afternoon! 🙂
Thank you Carol !
Love the stitch Denise! I just bought the pdf so I can try it out this weekend on some dishcloths. I’m curious where the +1 comes in. I seen your reply above where you said that you start with 3 knit stitches and end with 2 knit stitches, so I’m lost on the +1. Where does it go in the pattern and what stitch is it? Thanks in advance for your answer and for all the work you put into giving lovely patterns and videos!
Hi Jennifer,
Here would be the pattern written out with the + 1
(k) ppk
(k) pkk
This looks like a great stitch. Thank you for posting it. I really appreciate how you are sharing all these different stitches with us.
Thanks for the Thanks Justine – I really appreciate it !
What a beautiful stitch – thank you for sharing!!
Thank YOU Karen !
Hi Denise,
I just watched the video, and I’m a little bit confused. On the flat panel instructions. I get that for the multiple of 3 we do the pattern. My question is, what stitch are we doing on the plus 1? After we’ve done all the repeats of the 3 stitches we want to do, what stitch are we doing for the last stitch of the row? According to the pattern, not the sample you’re working on. I know you do the samples a little differently than you show in the videos. You didn’t show the plus 1, when you were working the pattern in your tutorial. I know I should be able to figure this out on my own, and it’s probably very simple. But I’m lost.
For my edging I started with 3 knits – and ended with 2. My purpose for the edging to be as low key as possible so that the stitch stands out.
Thank you, Denise! I’ve never seen that stitch before. I can’t wait to make somethings using this stitch. Thank you for all you do for the loom knitting community. It’s very much appreciated.
Thank you Raelyn, I very much appreciate the loom knitting community.