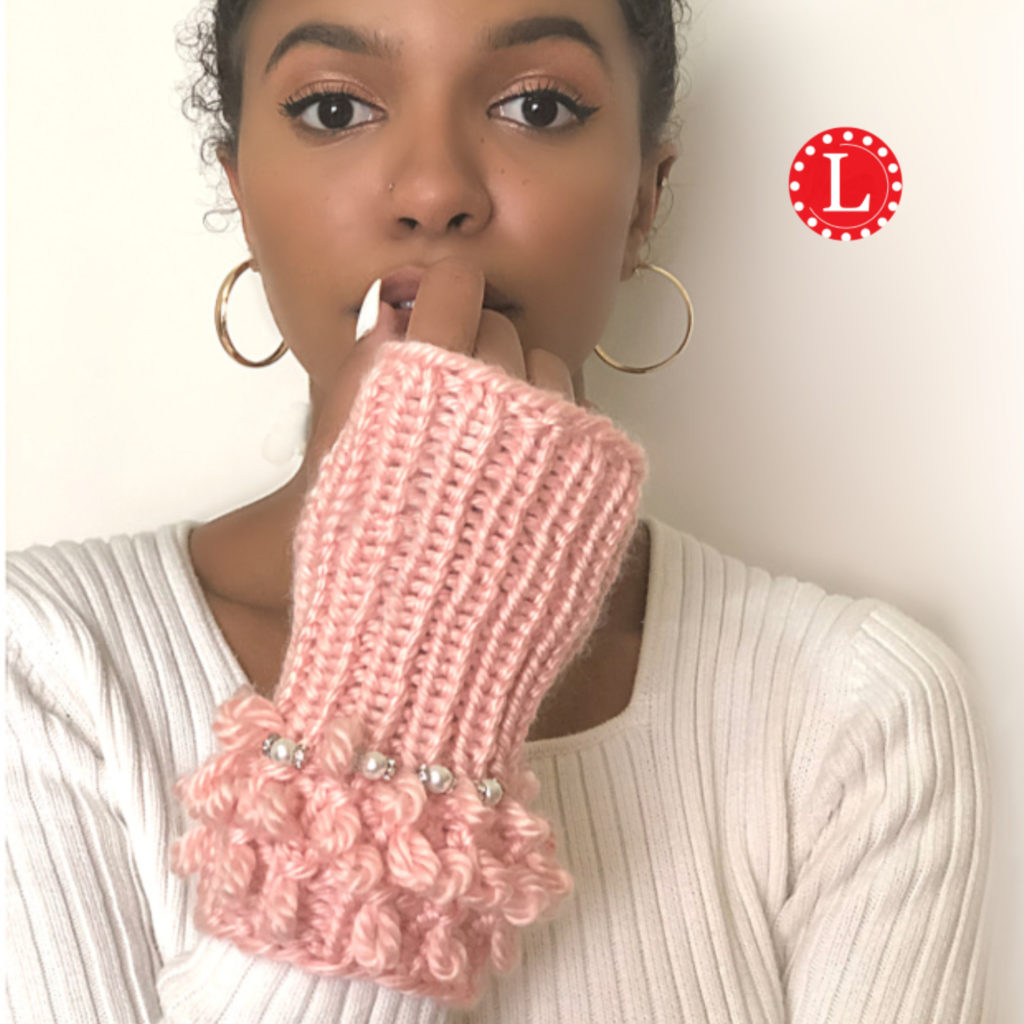
Loom Knit the Loopy Stitch Gloves on a 24-Peg Loom
The fingerless Loopy Stitch Gloves pattern video is below. I had already done a video of the stitch. Here is the video for the complete project. You can finish this one over the weekend because it’s a lot easier then it looks
Check out the supply list below. Keep in mind that you can substitute the bulky with 2 or 3 strands of yarn you would knit together.
Project Supply List
Below is a list of the recommended products and basic information. I hope you will stay as close as possible in order to get the best results.
Skill Level: Advanced Beginner
Size: 8 inches long x 3 inches wide
Stitches: Knit, Purl and Loopy
Loom: Small Round Loom – I used the Knifty Knitter 24-peg loom
Yarn: 80 Yards of Super Bulky. I used Hometown in Providence Pink
Tools: Loom Hook, Crochet Hook, Yarn Needle
TO PURCHASE THE DOWNLOADABLE PATTERN: CLICK HERE
Consider Joining Patreon . For as little as $2 get 2 patterns posted each month. With a higher $5 pledge you all patterns plus get the downloadable video so that you don’t need to be online to create your project. To join Patreon: Click HERE
The Pattern Video
As always, I recommend that you watch the video completely before starting the project. Scroll down for a link.
.
.
Related Posts
Tagged: 24 peg loom, finger less gloves, fingerless gloves, gloves pattern, loom knit gloves, loopy stitch gloves










This is so cute! My mom would love these! Is the 80 yards listed for 2 gloves or 1?
Hi – It’s for the set
Hi Denise.
You are such a good teacher. Ive learned several different stitches on my round loom. I make hats for my church & we donate to those in need.
I have been searching for a few videos on you tube that address several issues Ive been having trouble with as a new loom knitter. All my questions are in reference of using the round looms.
1. Video that shows clearly how to change colors of yarn for horizontal stripes on a round loom.
a. when do you to cut the yarn
b. do you knot it together, or
c. do you just make a loop & put on starting peg & yarn over?
2. How to avoid the “jog” look on the round loom when changing colors.
3. How do you carry yarn on a round loom (for a hat) when you want to switch back & forth between color rows (i.e.several rows of color a, then several rows of color b, then switching back to color a). I’ve watched lots of videos & my non working yarn either keeps showing up on the outside of the hat, or it has the carried yarn showing inside the hat in a long strand..not worked into the stitches
4. How to fix a dropped stitch, or some other kind of mess-up, for both the e wrap knit stitch, & also when you do the purl stitch. For example, when i see i messed up on an e wrap knit stitch, i take off the current loop on the peg. I am not sure if when putting the previous loop back on the peg, should i still try to keep it twisted, or is ok to put the previous loop back on the peg without it being twisted?
a. Along those lines..if you don’t notice your mistake until after several more rows have been completed, is there anything that can be done to fix indtead of taking all loops off the pegs & ripping all stitches out back to where mistake was made.
I am hoping you can address these in some of your upcoming “tell me Tuesday” videos. I am a fan of yours. You are very clear with instructions & good with your camera videos views..not going out of frame & such.
Thanks. Becky Musgrove
mexxxx@msn.com
Got you Becky – I will be doing several of the ones listed
Cute! Great video tute and I love the tip on putting markers on the pegs. Thanks!
Thanks for the Thanks Cynthia – I really appreciate it !